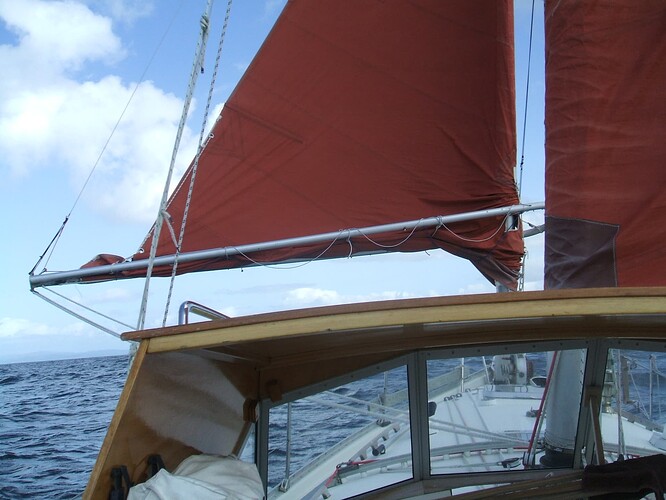
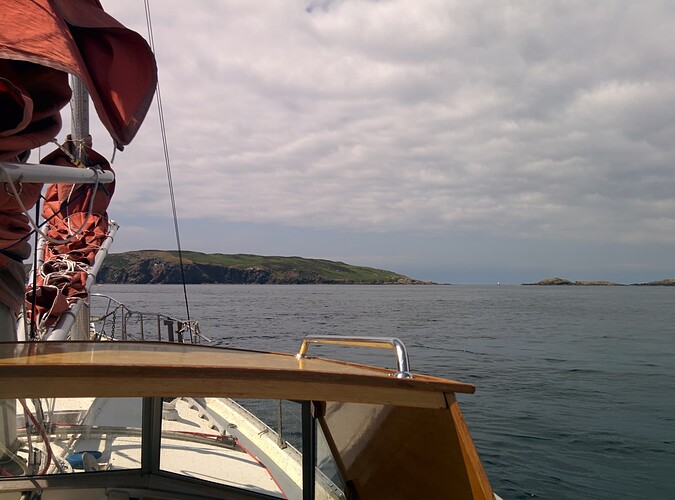
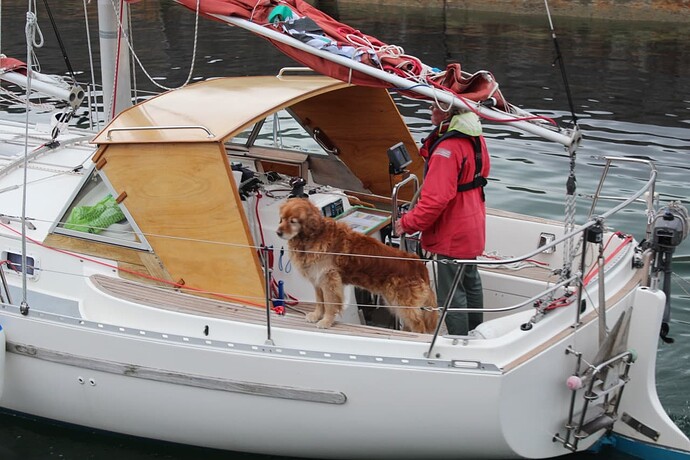
My wooden sprayhood has attracted a fair amount of attention since I finished it in 2013. It’s turned out to be quite robust and I’m surprised that the varnish finish is still serviceable, although a bit patchy in places.
My PO had fitted a glass windscreen by Houdini onto which a new fabric sprayhood was attached, around 1998. Ten years later the sprayhood was showing its age and something would have to be done, eventually. The current owner (her indoors) was a bit sceptical so it had to be done in a manner that the old sprayhood could go back on, which it did for winters until it expired.
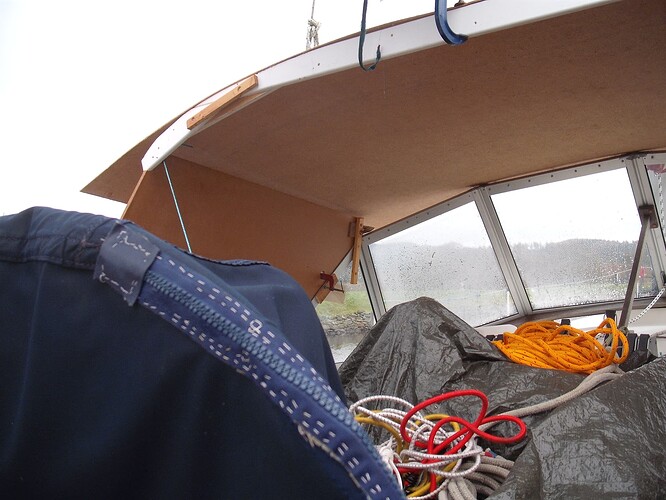
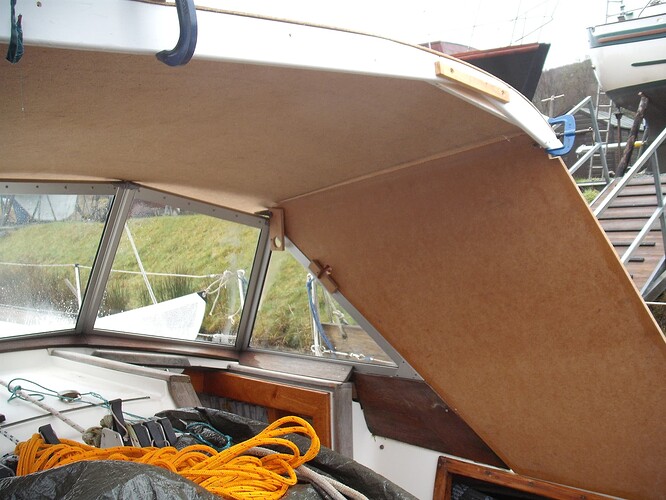
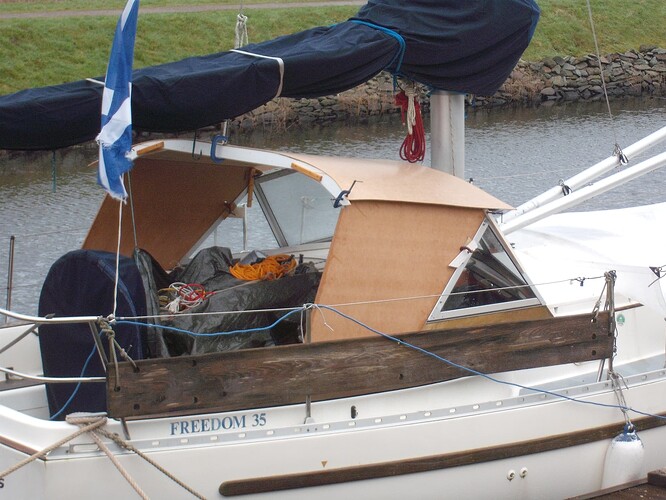
Largely because the boat was never close to home, it took two years from the first templates which were in hardboard. From them, the sides were templated in 10mm MDF which was adequately rigid and didn’t need a huge amount of cutting to get to size. It was however difficult to hold them in position singlehanded. One fine day, I got them set up with a temporary beam across the aft end and put a whole sheet of hardboard on top. The height was taken from the old sprayhood. This proved the concept. Note that the final beams are not as this template.
The proper beams were laminated from DIY hardwood strips using an accurate template constructed with small blocks of 2” x 2” wood screwed to an 8” plank of melamine household stuff. The offsets were calculated mathematically to form a constant curvature. At the same time, I asked Robbins Timber to kindly place a sheet of their best 5mm 5-ply between trestles and measure its natural sag which matched the beams so no forcing was necessary when fitting them. The curvature gives great strength for negligible weight.
The lamination used West Epoxy, multiple clamps and polythene sheet, cut small to keep the epoxy in the right place.
The top is 5mm and the sides 9mm top-quality ply. Having the windscreen as a base was crucial and the plywood sides are attached using tabs glued on the outside with backing tabs screwed on from the inside – all made from some surplus teak strip. The bottom aft corners are attached with dinghy shroud plates screwed into the GRP cockpit insides. Trim uses a variety of teak mouldings, again by Robbins.
A horrid job was to fashion the infills between the front of the roof and the windscreen as it required trial and error fiddling at awkward stretches. Once a good-enough fit was achieved, they were tag-glued with quick-setting epoxy and then, with roof off, filleted per West techniques.
All quite a palaver as the top was too big to go in the car, but a liability on the roof bars as the curvature creates lift at anything other than moderate velocity.
Anyway, it was all worthwhile and gained approval from the owner who really liked the grab rails on the top. Assembly and knock-down at the ends of the season is eased by tying the grab rails to the backsail wishbone.
First three photos are on the day I put on the hardboard top.
The last photo is by Bertie Milne, HM at Whitehills.
