Motor mount replacement and engine alignment

I spoke to Paul Dennis today re purchase of one of his customized tides marine shaft seals for my F30.

While we were talking I mentioned my motor mounts were at least 25 years old and may be the originals from 36 years ago. He thought I was way overdue for mount replacement. I am at about 2500 hours.

So I am buying a set of mounts from him to go along with the seal.

The question is, is a motor mount replacement and engine alignment doable as a dyi project? Has anyone done it themselves? I have watched videos of mount replacement and subsequent alignment. It looks tedious but not technically complex. I am confident I can lift the engine slightly to take the weight off the mounts and I am comfortable with removal of old mounts and install of new. It is the alignment that scares me a bit.

I would appreciate anyone’s thoughts.

WRT the seal, I’ll have to haul the boat for that job but it also looks doable DIY.

I had removed the Yanmar 3GM on my Freedom 33, to renovate it.
So I had to realign the engine once it was back on board.
I used a thickness gauge shim. To be inserted at the level of the coupling
I tried to do my best.
When I first started the engine, it vibrated quite normally.

Don’t worry, the operation is simple.

Hi Mike,
I did the exact same job you are doing now on my F28, including getting the Tides Marine shaft seal from Paul Dennis and replacing the motor mounts at Paul’s suggestion. I had a nightmare of a job freeing the coupling from the end of the shaft so that I could remove it. I ended up building a mini “gantry” out of scrap lumber so that I could lift the engine up a few inches using some 1/4" threaded rods and to get a gear puller on the end of the coupling, which finally freed it so I could pull the shaft out. My boat had the original Syntron non-lubricated seal so the propeller shaft was toast and needed to be replaced as well. I also built up the outside of the shaft log with a few additional layers of fiberglass cloth and epoxy so the new seal fit over it snugly.
After all that, swapping in new motor mounts and aligning them was the easy part. It was my first try at doing the alignment and although I get the theory of measuring the runout with feeler gauges, I found it difficult to achieve that level of precision in practice. Nevertheless I did the best I could and it ran fine when I was done. There are two things working in your favor. First, the Yanmar mounts even when new are pretty flexible compared to other brands, so they are a little more forgiving if the alignment isn’t perfect. Secondly, if worse comes to worse and you have to adjust the alignment again, it’s no harder to do with the boat in the water so you don’t need to have her hauled again.
Best of luck, the Tides seal has worked great for me.

Hi,

The project is diy doable but will take some time and effort. I took it on because boat was taking on water over memorial day weekend so getting a mechanic was not possible. Looking back I think I would have had a mechanic do it.

Do not be surprised if scope expands beyond shaft seal: mounts, shaft, flange and cutless. It turns into the typical might as well replace while I am here syndrome.

A few thoughts come to mind should you opt for DIY. Forgive the bits of rambling.

Had to trim the tides seal to fit in small space between the shaft log and the flange.

Spraying penetration oil on shaft flange and mount nuts was helpful if they are very rusty.

Getting flange off the shaft can be a challenge. Used a socket in between the two flanges and compressed with the nuts and bolts. The shaft must have no scoring where the new tides seal will sit or it will leak and you will have to re-do the job.This usually is why a new shaft is put in. A paid mechanic would probably just cut the shaft and replace it to save time. In any event this part is the biggest headache.

If the shaft is out and being replaced the cutless bearing can be cut out with a sawzall. It will have a few allen socket set screws on the strut. Have to sand bottom paint off strut to expose.

There is a tool that can force the cutless out with shaft in place.

Successfully aligning an engine with old rusty mounts is not likely to be possible. So it is on to mount project. Taking some baseline measurements for the mount height and line up is helpful for the new mounts.

The nuts on the studs were 24 MM. Two wrenches, a deep socket and a set of ratchet extensions will be helpful. The extensions come in handy for the nuts on the mount feet. Really helped get access. Replacing one mount at a time seemed safest.

Jacked and blocked front of engine with 3-4 inches to clear and replaced both front mounts. This sounds weird but inflating a basketball under the rear up the engine worked great. In some cases it is easier to remove the mount and bracket as a unit.

Feel free to reach out with questions and good luck

Thank you guys for responding. Sounds like I can get the job done myself.

The reason this is important for me is that I had a huge hassle dealing with a seal change two years ago. I am using a lasdrop. I installed the lasdrop successfully in 2018 and it performed very well for about four years. It began leaking eventually (as expected) and I planned to replace during a bottom job haul out. Holy cow, this seemingly simple bob turn into long running mess. I had the boat in the yard for almost six months, much of which was “nothing happening” time. Turns out I had leakage from the strut attachment bolts in addition to the seal, the heads of strut bolts were hidden under the diesel tank. It’s a long and painful story. Wound up having to replace the shaft which caused removal of rudder which caused issues with steering cable tightness which caused autopilot hunting … Good God!!

Anyway, Now I am back to seal leakage, fairly severe leakage at that. I do notice a slight kink in the flex tubing connecting the seal housing to the fiberglass stern tube. I am thinking it is possible the engine alignment is off or has been impacted by these very old mounts. The result is a misaligned shaft transiting the shaft seal leading to leakage.

So the first step of my plan is to replace the mounts and realign as a Hail Mary solution to the leakage issue. Either way, the mounts need to be replaced. I figure if I do it myself I save some dollars and, If no joy on seal leakage, then step two will be a haul out to replace the seal with the Tides Marine, reconfirm alignment, get the bottom done and pull the mast for an overdue masthead refurb. Last time I had it out was 8 years ago.

Pearce, man you have that right regarding project growth. It is growing as I write. And it grew like bamboo when I last had the boat in the yard. I swear, I was almost ready to buy another boat!

I do have a newer shaft and with the lasdrop lip seal I think I may have dodged the shaft scoring issue…hope springs eternal.

Thanks for the tips, excellent. The basketball idea is really helpful.

You mention you had to trim the Tides seal. Was this a modified seal you purchased from Warren River or directly from Tides Marine. I think Warren River modifies them for our tight space…maybe not enough??

With regard to the shaft flange. That was replaced two years ago along with the shaft. I had a big hassle separating the two before the replacement but I am hoping their relative “newness” will make this process slightly less painful.

And, finally, the cutlass bearing. Good point, might as well replace that too. I think last time I did it was about 10 years ago. Probably should have done it at shaft change but that whole mess was so overwhelming I just wanted my boat back together and to get out of that boat yard asap.

Since you have already done work recently it should all come apart fairly easy. Maybe you could separate the shaft and flange and install the new seal and then tighten it up.

I knew the Tides Seal would need some trimming when I ordered it. Paul was very helpful and gave great advice. It just depends on the space you have. Might fit without cutting.

Measured the seal up and marked it so two clamps would still fit on both sides and it the whole seal would clear. Then a put short pvc pipe inside the seal with a hose clamp over it at the mark. Use the clamp as a guide to get a clean cut with a sharp razor knife. Repeat for the other side. Go slow, measure twice and it should be fine. It cut fairly easy.

Pearce, one basic question. We have the coupling over the shaft and a coupling attached to the transmission. These are bolted together for standard ops.

When one separates the flanges does the shaft extend into the flange attached to the engine or is it stand alone within the aft flange with torque transmitted via the attachment bolts?

I should know this because I had the flange off two years ago but I can’t remember exactly how it was set up in this regard.

So the bolts take load. The shaft flange has a ring that inserts into the transmission flange. Here is a pic of an old one.

OK. Thanks a lot. This will make it viable for me to remove the bolts and nudge the shaft back a small bit without having to remove the flanges at all. I have 1/4 to 1/2 inch to work with before the shaft flange comes up against the seal housing screw heads. I assume that ring on shaft flange face which mates to trans. flange is not very deep?

All I plan to do at this point is replace the motor mounts. So, in theory, remove the flange to flange bolts and nudge the shaft back just a bit so there is a small gap between flange faces. Then use a feeler gauge and, no doubt, half a day fussing around with motor mount bolts to get alignment sorted, then reattach shaft and all good…correct?

I am skipping the part about unloading the weight on the mounts in order to extract old and install new. It is understood I will need to carefully measure the height of original motor mount bolts to get close to correct heights pending fine tuning at the coupling faces.

I also realize seal housing replacement will be a job that must be done out of the water. I wanted to try mount replace and alignment to see if that may help with seal leakage.

Sounds like a plan. Since the mounts need to be replaced anyway it is worth getting it done. Checking the alignment cannot hurt. Might check it before starting the mounts replacement to see if it is off.

Seems unlikely that this would help with shaft seal leaking. But for the future seal I have heard real bad alignment can cause premature shaft seal wear.

Must be nice not to be out of the water for 6-7 months. Was 8 degrees this morning in MA.

Yea, not having to go into winter layup is a good thing, but there is something to be said about having to come out every year so one can accomplish various out of water jobs on a routine basis. It is very easy for us year round in the water types to kick the can down the road as far as possible due to hassle factor and cost associated with hauling the boat.

I agree on the mounts - unlikely to help with leakage but given they should be replaced regardless I figure it is worth a shot.

And, yes, I intend to check alignment at disconnect and see how it looks before I touch the mounts. Perhaps that may reveal some misalignment which may have lead to excessive seal wear,

The other item of interest is the fact my current lasdrop is connected to the stern tube by a very short and very rigid piece of wired tubing. Paul Dennis tells me the Tides Marine seal comes with a special stern tube connector made from a durable but more flexible material which helps with self alignment if I DO have some residual misalignment after I a complete the mount replacement. I want to do some sailing so probably have to wait until March for the haul out and seal replacement.

One question I had asked I was still hoping for an answer to: You mentioned the shaft flange has a circular lip which fits into the engine side coupling. How far does that lip stand from the shaft flange face?

That lip is about 1/8 to 3/16 of an inch.

Thanks for that. Still looks like I will have just enough room.

Whoee!!! This is a classic, a BIG classic.

I say IS as opposed to was because i am still at it on week 4. I did get sick for a few days but this job turned out to be huge. I can not imagine what a boatyard would have charged me.

As some of you rightly predicted, this has gone from a mount replacement to a complete engine room, shaft well and exhaust system refit including replacement of the 20 foot bilge pump hose which, on my boat, is threaded through the engine room space and was so old it cracked when i tried to bend it.

The basic issue is poor access to mount bolts and almost everything else associated. It is like trying to extract an intact sardine from the bottom layer of a sardine can. All i can say is thak god for amazon else i would have worn my car out getting tool, parts, oils, nuts, bolts, washers, hoses, hose clamps, engine room insulation and salon pas painkiller pads for my aching shoulders.

I now have repainted stringers, replacedall four mounts (with a few more base bolts to tighten up) and a fairly decent alignment - pending testing.

All i have left is said bolt tigtening, another coat of paint, install new exhaust hose and water box, install new bilge pump hose, reistall raw water pump, install ne engine room insulation, install new raw water hose, reistall engine and stater wiring and additional stuff i am fogetting about - i have a list.

The good news is the battle is being won and peace negotiations should stat in a week or two.

I wll post a victory statement at that time outlining strategy, tactics and various casualties suffered along the way.

Mike - I know, ya gotta love projects! O wow, this one runs deep. Good going for taking it on. I had a similar as you know - motor mounts replaced, new shaft and new pss ( still working on the hy vent- and putting in new diesel heater fuel line and filter, should be there tomorrow) but…and a very big but…. All gratis from the boatyard. Mike can you tell how you removed the motor mounts and installed the new ones? (You probably listed it above and I missed it!). …and I don’t believe the mast is ever been out of Good Way……

I am going to write a complete after action report when I finish. Stay tuned, it was interesting to say the least.

Quick update for you Camino.

I finally completed the mount replacement, alignment and exhaust rebuild with new water box. Couple of outcomes so far:

The Good:

1.When I ran up the engine both neutral and in gear I was really surprised with the reduction in vibration. I had assumed I might get a little improvement but it was rather dramatic. Big win on this issue!

BTW, you are probably aware that there are different “softness” specifications for Yanmar 2GM mounts. The F30 is equipped with two 100s and two 75s (I have no idea what the numbers refer to, but lower is softer) . All information I was able to glean, including from Paul Dennis was that the 75s went aft and the 100s went forward. There is some online debate on this issue similar to the famous to grease or not to grease the old syntron shaft seal (donlt grease!! according to the manufacturer), Anyway, when I removed the old mounts both the port mounts were 75s (fore and aft) and both the starboard mounts were 100s. What the hell?? I figured maybe engine torque or some such? I don’t know, but I went with the data and Paul’s recommendation and am extremely happy with the result.

Alignment was difficult to accomplish with high confidence because, on my boat, the distance between coupling flange and the shaft seal housing is so tiny that I could not completely get the shaft coupling lip (that Pearce alluded to) free from the transmission coupling. I could rotate both independently but could not separate them fully. I aligned as best I could and got to about 4 thousandths around the whole coupling face. I also had some vertical misalignment which I adjust out with the adjusting bolts atop the mounts. This all took three days of fussing around.
Note: you need to allow the mounts to settle before adjustment according to experts so I did that over a long weekend before I attempted any fine tuning.

The bad:

  1. I still have seal leakage which I had hoped might be reduced or eliminated with proper alignment. I do have a new seal purchased from Warren River so I’ll have to come out in a few months to deal with that. I have some mast work and bottom to do at that point so I’ll just add the seal to the pile. Fortunately I have no leakage when at the dock.

  2. Freedom really dropped the ball IMO with regard to how they installed the mounts. I mean the original install was OK I assume but they made zero effort to provide for mount replacement. Both access and mechanical are sub par IMO.

On my boat FYI punched un-secure bolts from the bottom of the engine bed stringers. So when I removed the nuts holding the mounts to the stringers the bolts wanted to fall into the stringer cavity with very limited access to retrieve them, much less hold onto the damn things when reinstalling the mounts.

I wound up having to cut a 2.5 inch hole in the bottom of the stbd aft cabin bulkhead in order to get a wrench on the aft most bolt during re installation. Same in port side although a hole was already cut, it was too small to obtain access and I had to use an oscillating tool cutter to expand it.It was impossible to fit a drill inside the sink cabinet to expand this hole AARGH!! This took two days to accomplish. The good news is the next time I need to replace mounts I can get access to the hardware.

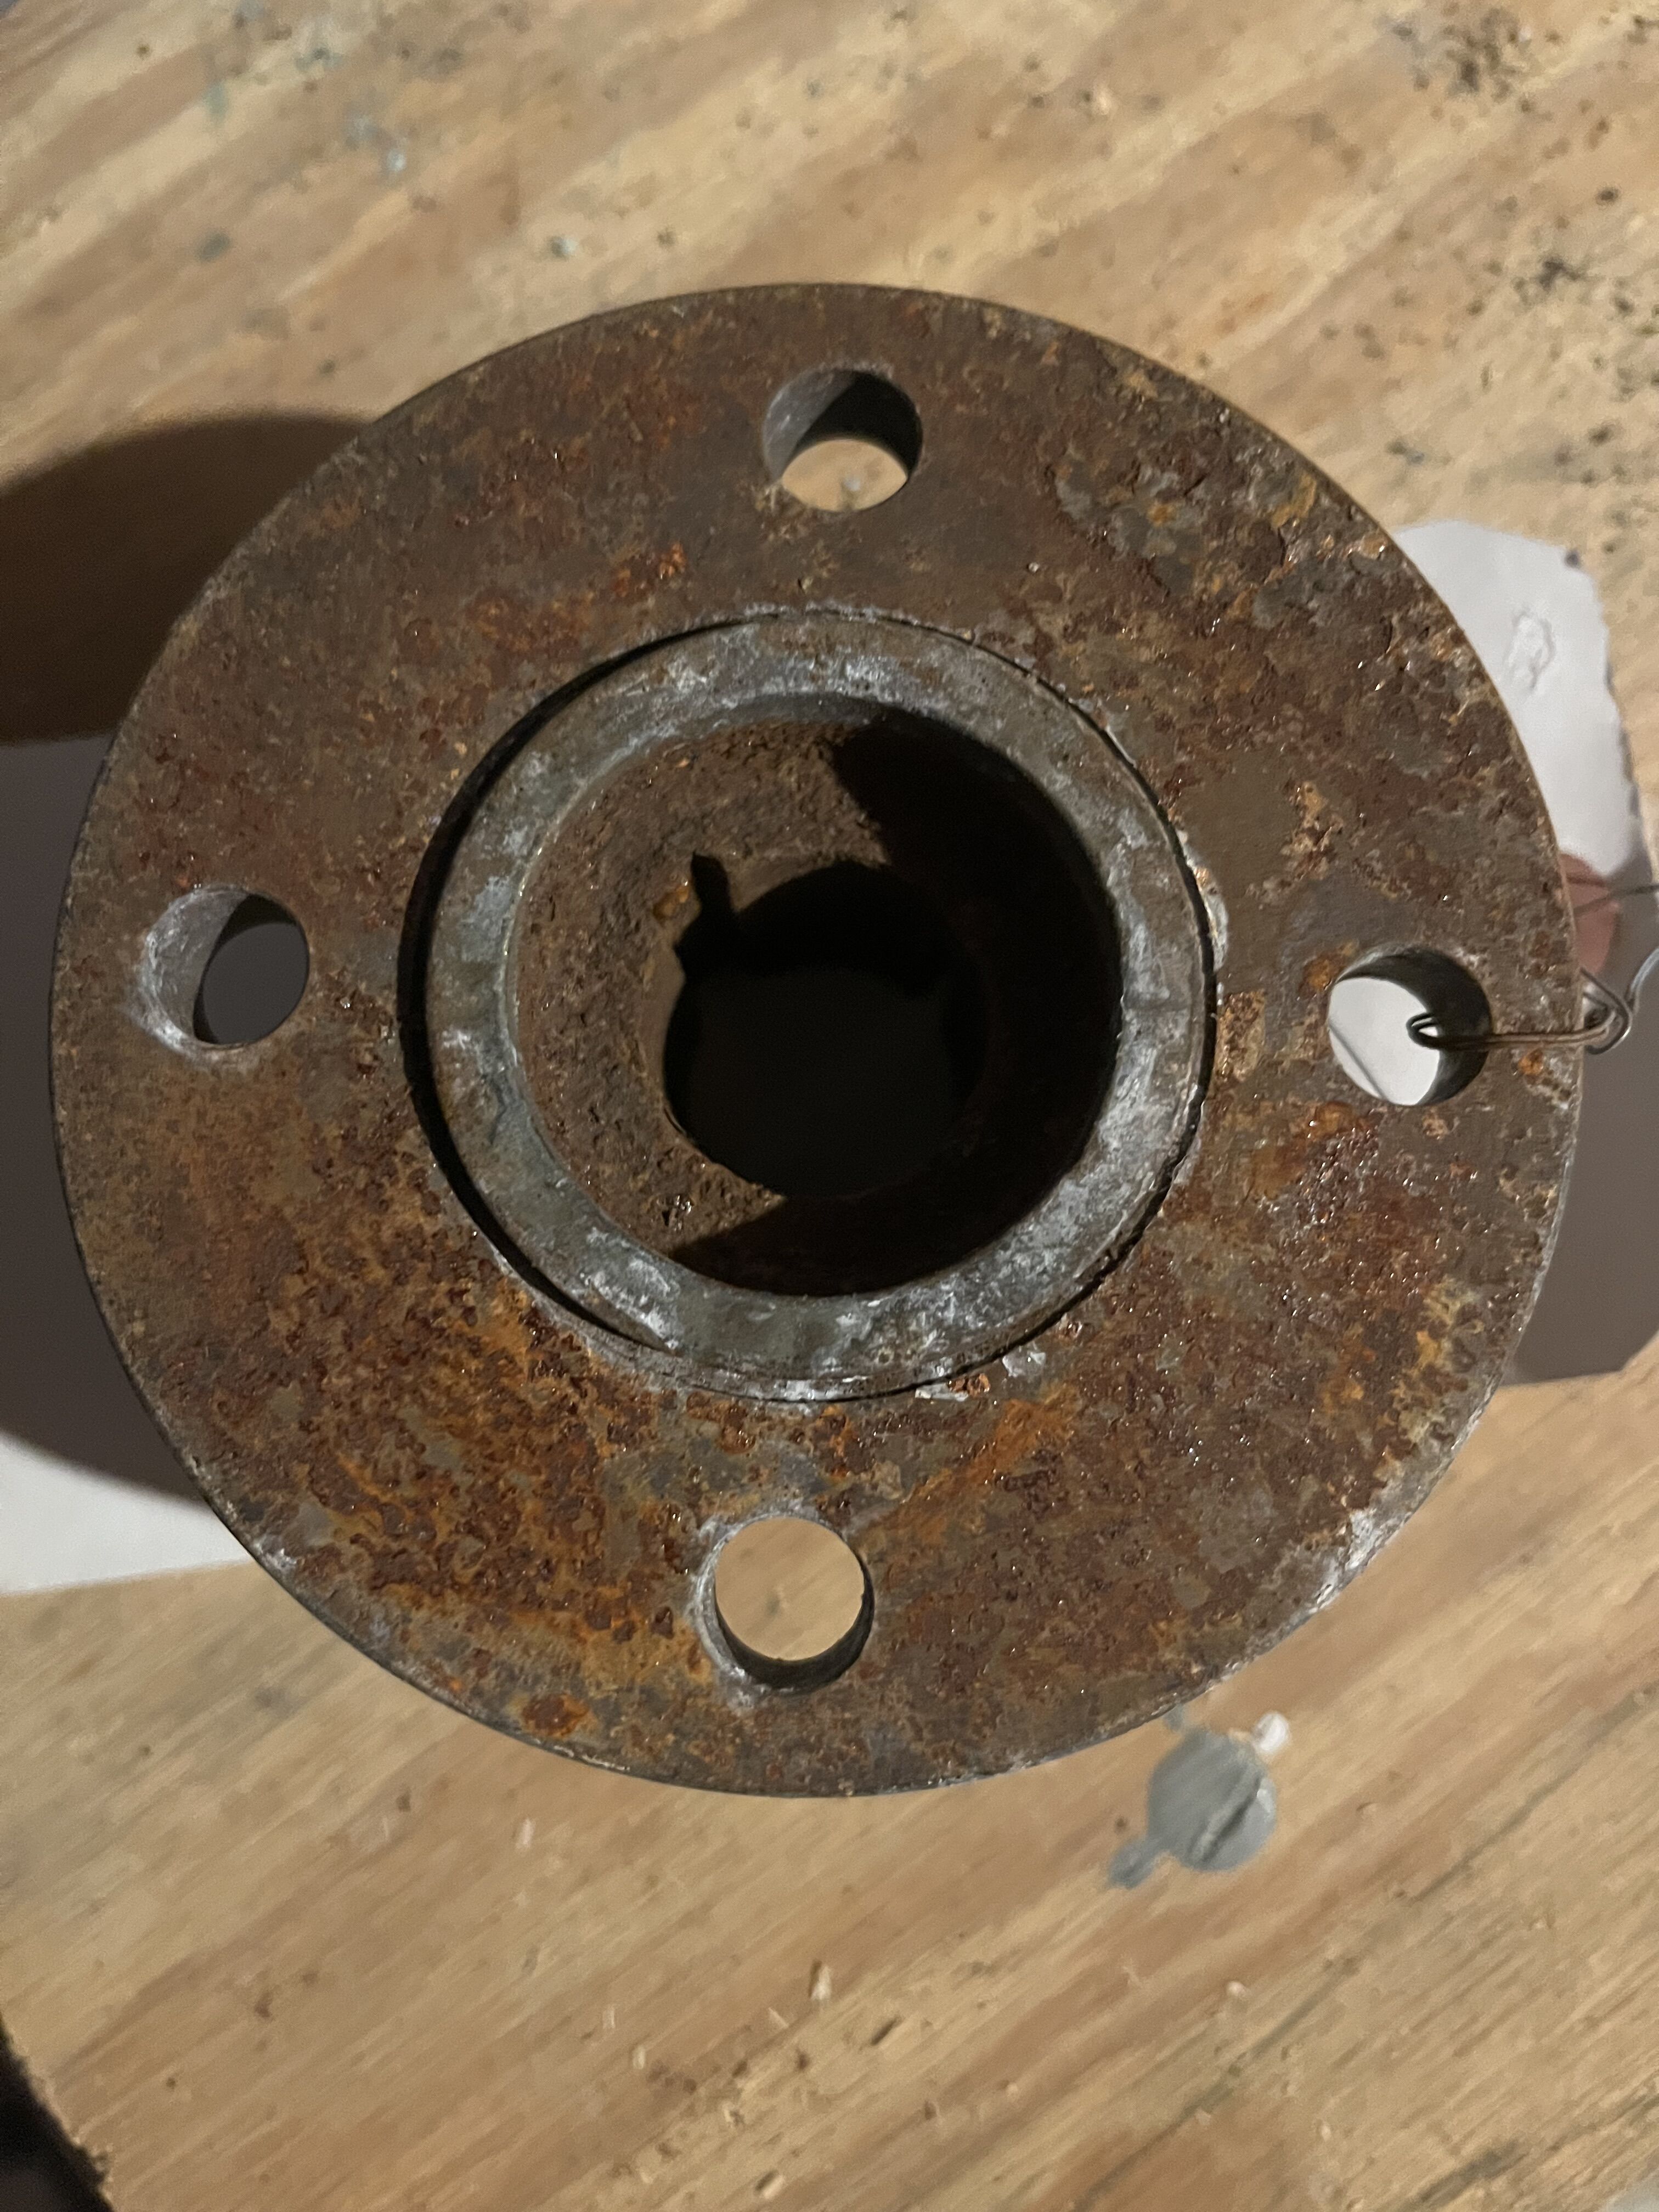
On a positive note, the project did lead me to replace old and worn exhaust element in the engine bay coming out of the mix elbow. I purchased a new Vetus water box with an articulating input flange which allowed me to get rid of two bulky galvanized plumbing elbows. Now I have a straight shot from the mix elbow to the water box, sweet.

Another interesting finding was that the old water box had decades of accumulated rusty bits in the bottom chamber. I had always wondered why I got a stream of rusty looking water when I first started up. Mystery resolved. Now, on start up, nice clean raw water from the get go.

So I just finished stringing the new bilge pump hose from the bilge through three lateral stringers,though the engine compartment, under the water heater through the lazarette and ready for trimming and hook up to the pump itself. OMG what a PIA that was, It is ribbed hose and tight penetrations,I am bruised and bloody but, by God, that hose has been routed!

I’ll post some pictures of all this in a follow up.

Been following your progress Mike. Appreciate your write up and details. These are all things I will likely have to look forward to…

Mark

Mike - I salute you for your work and determination! Awesome. When I fired my 3gm30f after the boatyard did the work you did (plus reassembling my max prop correctly) I also was amazed - an understatement - as to the now lack of vibration and overall just complete smoothness of the motor running. Big smile. I replaced my exhaust hose in 2016 and in 2017 I installed a stainless steel exhaust elbow (I got it from a small supplier in the Seattle area). I never asked boatyard what size mounts they put in…. I need to check next time (Monday maybe). When the boat is in prime working order - no better feeling lol. Opposite is also true!